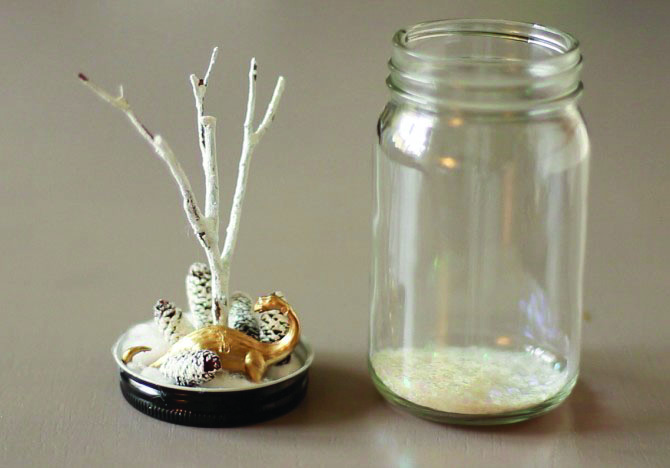
WINTER WONDERLAND TERRARIUM
What You’ll Need:
- Empty glass jar with lid
- Cotton balls
- Small twig and small pinecones
- White glitter
- White paint
- Gold paint
- Hot glue
- Tiny plastic toy (optional)
Step 1 — Paint the twig and pinecones white. Apply plenty of white glitter before paint dries.
Step 2 — Paint toys or trinkets in a fun way with the gold paint.
Step 3 — Once paint dries, glue cotton balls to inside of jar lid, and then glue on the twig, pinecones and toy with hot glue.
Step 4 — Add glitter to empty jar, then screw lid on. Voila, you have a winter scene.
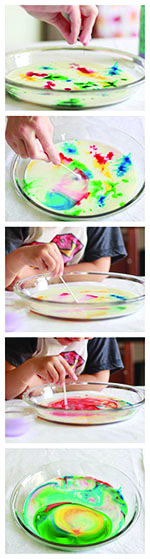
RAINBOW MILK SCIENCE
What You’ll Need:
- a shallow container (a pie dish is ideal, but a bowl or tray will work)
- milk (about 1 cup)
- liquid dish soap
- a small container for the dish soap
- Q-tips
- liquid food coloring
Step 1 — Pour milk into shallow container.
Step 2 — Add several drops of food coloring (multiple colors).
Step 3 — Squeeze dish soap into small container, dip Q-tip into soap.
Step 4 — Place soapy Q-tip into the milk, and the colors will “magically” move around.
Note: This fun activity also contains a science lesson. The soap reduces surface tension, the cohesive property of the milk’s molecules, and enables the colors to move.
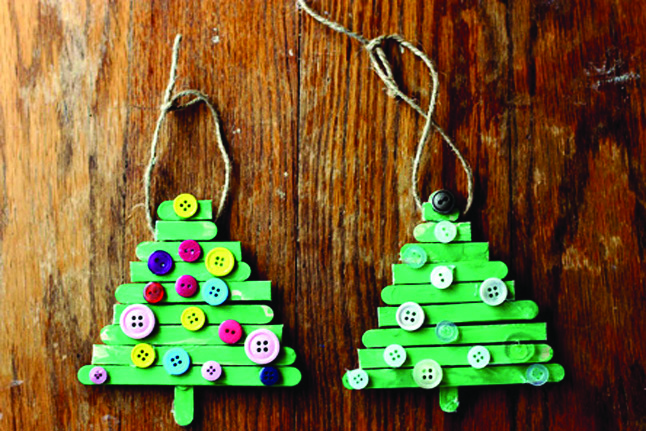
CHRISTMAS TREE ORNAMENTS
What You’ll Need:
- Popsicle sticks (about 12)
- Green paint
- Scissors
- Buttons (variety of colors)
- Twine, yarn or string
- Glue (glue guns work best)
Step 1 — Paint popsicle sticks green and let dry.
Step 2 — Cut popsicle sticks into pieces, making each one shorter than the last. The one used for the bottom of the tree should be full length.
Step 3 — Arrange the pieces horizontally to create a triangular tree shape.
Step 4 — Use one stick as the trunk, affixing it vertically to the back side of the tree.
Step 5 — Glue twine/string onto the popsicle sticks and let dry. Cut and place twine/string based on how low you want the ornament to hang.
Step 6 — Glue buttons on tree and let dry.
Step 7 — Tie a knot to connect ends of the twine/ string and hang ornament.
Instructions and photos from pbs.org. For more craft and activity ideas, visit http://www.pbs.org/parents/crafts-for-kids/.