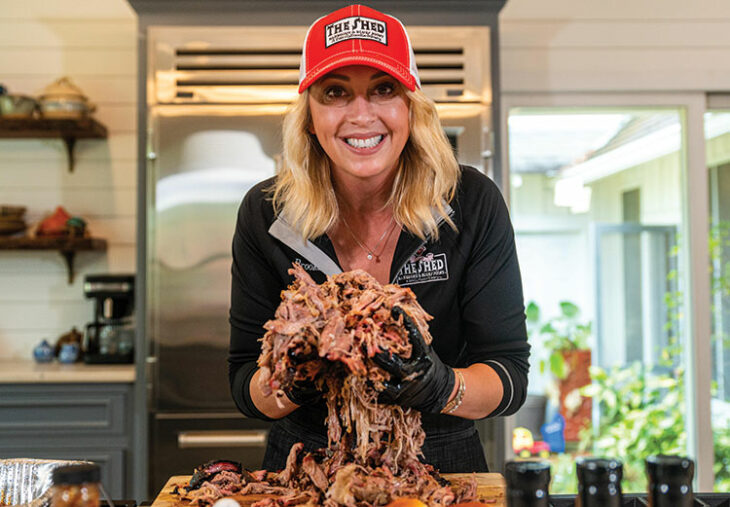
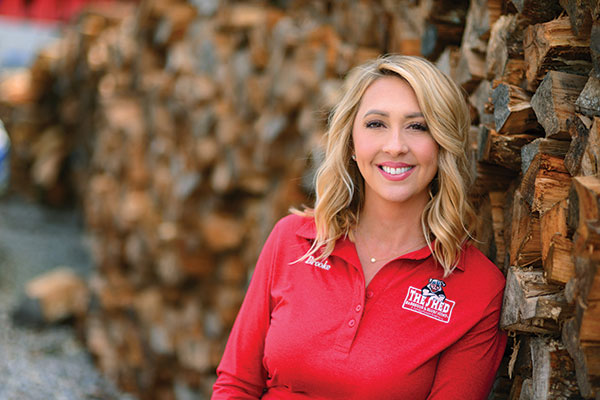
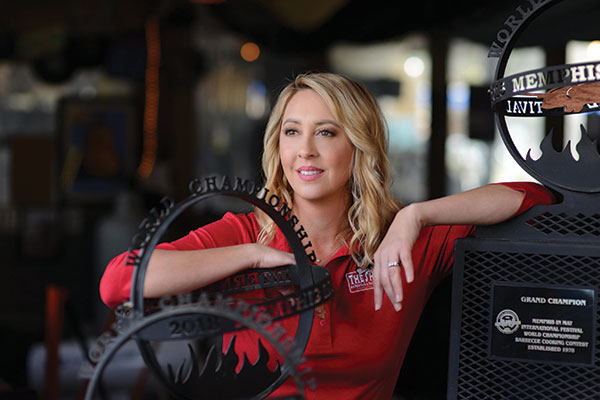
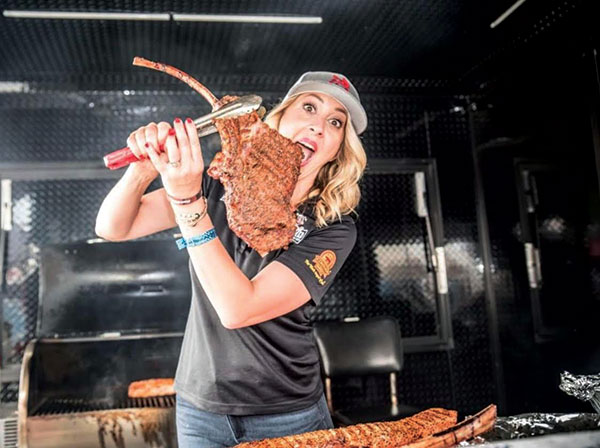
Brooke O. Lewis co-founded The Shed BBQ & Blues Joint 21 years ago with her brother, Brad, and this iconic Ocean Springs eatery has since grown into a mecca for barbecue lovers. The siblings, along with their Shed team, have competed on the barbecue competition circuit nationally and won numerous awards, taking home the elite title of World Grand Champions in Whole Hog at the Memphis in May International Barbecue Cooking Contest in 2015 and 2018. Brooke also has competed solo, winning Discovery Channels “Best in Smoke,” Kingsford Charcoal’s “Girls that Grill,” and first runner-up on History Channel’s “American Grilled.” She also received the “BBQ Heroine” award at the National BBQ Conference in 2013 and was listed among the Top 12 Most Influential Women in Barbecue by Thrillist.com. Last year, she was recognized in National Geographic Traveler as one of the South’s “pioneering pitmasters.”
Since 2009, she has taught classes at the National Barbecue & Grilling Association, and she also partnered with Brad on The Saucery LLC, a small batch operation where they aid in creating recipes and packaging bulk items like sauces, marinades, rubs and side items for multiple restaurants in the Southeast.
HERE ARE THIS FEMALE PITMASTER’S TOP TIPS FOR MAKING MAGIC ON THE GRILL:
- When grilling, place charcoal to one side of your grill. This creates an indirect and direct heat side so you have more control during your cook.
- A good rule of thumb is 10 briquettes of charcoal per pound of meat. They do not need to be hot all at once, and during long cooks, such as a whole pork shoulder, brisket or ribs, you can build on your heat by adding more coals as needed to regulate the temperature. I always start my grill with 20-30 briquettes and add as needed.
- Always clean and oil your grill grates well before placing food on them. Once your grill is hot, you can simply scrape the grates with a grill cleaner or bundle up a ball of aluminum foil and run it along the grates to remove any excess particles. Once you are ready to cook, spray your grill grates using cooking oil or a grill cooking spray to prevent sticking.
- Always keep an instant read thermometer handy. The old-school “feel test” is never as accurate as a good thermometer.
- Remember, charcoal, wood, wood pellets, and gas are merely heat sources, just like your oven or stovetop. Ladies, there is no need to fear the grill! Just about anything you make inside also can be cooked on a grill. Rely on your two-zone cooking method to help you master the art of cooking over fire. If you are still intimidated by charcoal and wood, you may want to consider a pellet grill. These are very easy to use and create wonderful meals.
- Layer your flavors. Flavors don’t stop at one dry rub or one finishing sauce; your overall cooking will be much tastier if you consider layering flavors by pairing your favorite rubs and seasonings with flavored oils, dry or liquid marinades, brines, injections, finishing sauces or glazes. You can even add another depth of flavor by using a spice or coffee grinder to finely grind your favorite rub to create what we call a “finishing dust.”
- You also can add different flavors to your food with different woods. I like to mix a nut wood, such as pecan or hickory, with a fruit wood like apple, maple or cherry.
- Make sure you have the right tools. I suggest a good, calibrated thermometer, cooking spray, metal tongs, a basting brush and a clean pan to place your cooked items in.
- Most grills and smokers have dampers. These are usually one or two sets of holes covered by a moveable cover, and they help regulate heat. Once you get used to your grill and how open or closed your dampers should be to achieve and maintain the temperature you want, thesky’s the limit. You will be the backyard grilling hero you’ve always wanted to be.
- Always let your cooked proteins rest before serving. This is critical in retaining juices and moisture. If you go straight to the cutting board from the grill and slice open that beautiful steak, you likely will see an abundance of tasty juices run out. If you let your steak rest for 10-15 minutes, the muscle will retract and hold in all that tasty moisture.
- If you’re afraid of losing too much heat, you can create aluminum foil tent or wrap your food with foil. Larger cuts such as briskets and whole turkey breasts can rest for 45 minutes to two-plus hours, and they will only get better with time.
- Remember that proteins will continue to rise in temperature (five to 10 degrees) during the resting period, depending on the size. I suggest removing meats such as pork, beef and lamb from the grill five to 10 degrees below your final temperature goal.
Try this Brooke-approved party favorite to put your grilling skills to the test:
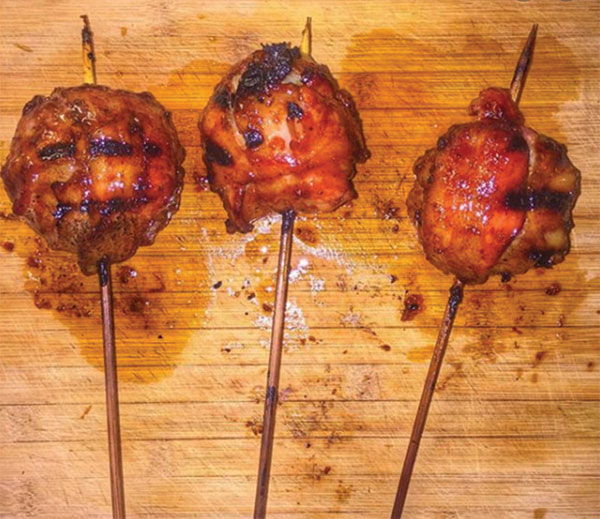
CHEESY BACON BEEF POPS
Prep time: 45 minutes
Cook time: 20-40 minutes (depending on size of meatball)
INGREDIENTS:
- 3/4 pound ground beef
- 1/4 pound ground pork
- 1 pound thin-sliced bacon
- 3-4 fresh minced jalapeños
- One small sweet onion, minced
- ½ cup of your favorite barbecue sauce (Brooke recommends The Shed’s Original Spicy Sweet)
- Rack Attack rib rub to taste
- 1 1/2 pound cubed pepper jack cheese
- 8-12 skewers
INSTRUCTIONS:
- Soak wooden skewers for 30 minutes.
- Heat grill to 350 degrees.
- Mix ground beef, pork, jalapeños, onions and ¼ cup barbecue sauce well.
- Make 3-ounce, palm-sized balls, stuff with a cube of pepper jack cheese and wrap with bacon.
- Skewer, then grill on medium/high heat 15-20 minutes or until meat is cooked through.
- Rotate to crisp bacon and char on all sides.
- Baste with remaining barbecue sauce before removing from grill.
TIPS:
- Use two skewers per pop to make them easier to rotate.
- Use a thin, center-cut, more meaty bacon.
- Add red pepper flakes or substitute habaneros or ghost peppers to turn up the heat.
- When wrapping meatball with bacon, rotate a quarter turn on each roll to cover evenly and tightly.