Sometimes it’s fun to sit down and do an activity that doesn’t require a lot of thought or expert skills; I find a lot of joy in that. Letting kids participate in these activities will grow their confidence and creativity.
This little project is easy, not requiring many supplies, and functional in two ways: You can make these for your own home or as gifts for family and friends. What grandparent wouldn’t want a set of handmade coasters from their grandkids?
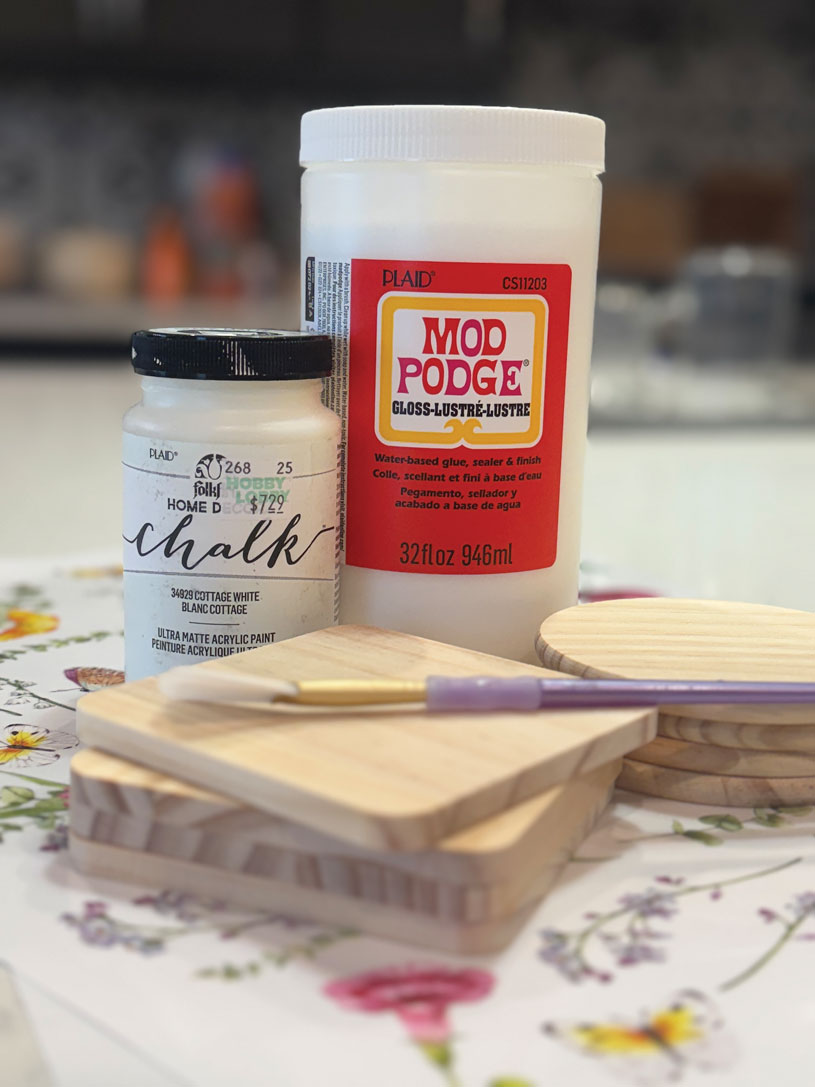
SUPPLIES & MATERIALS:
- Coaster blanks (I got mine from Amazon, but most craft stores sell these)
- Acrylic paint (it comes off skin but not clothing, so wear a paint shirt or apron)
- Mod Podge
- Paintbrushes
- Transfers (I got mine from Essential Stencil online; they have tons of choices.)
- Scraper or a spare credit card
- Small piece of fine-grit sandpaper
INSTRUCTIONS:
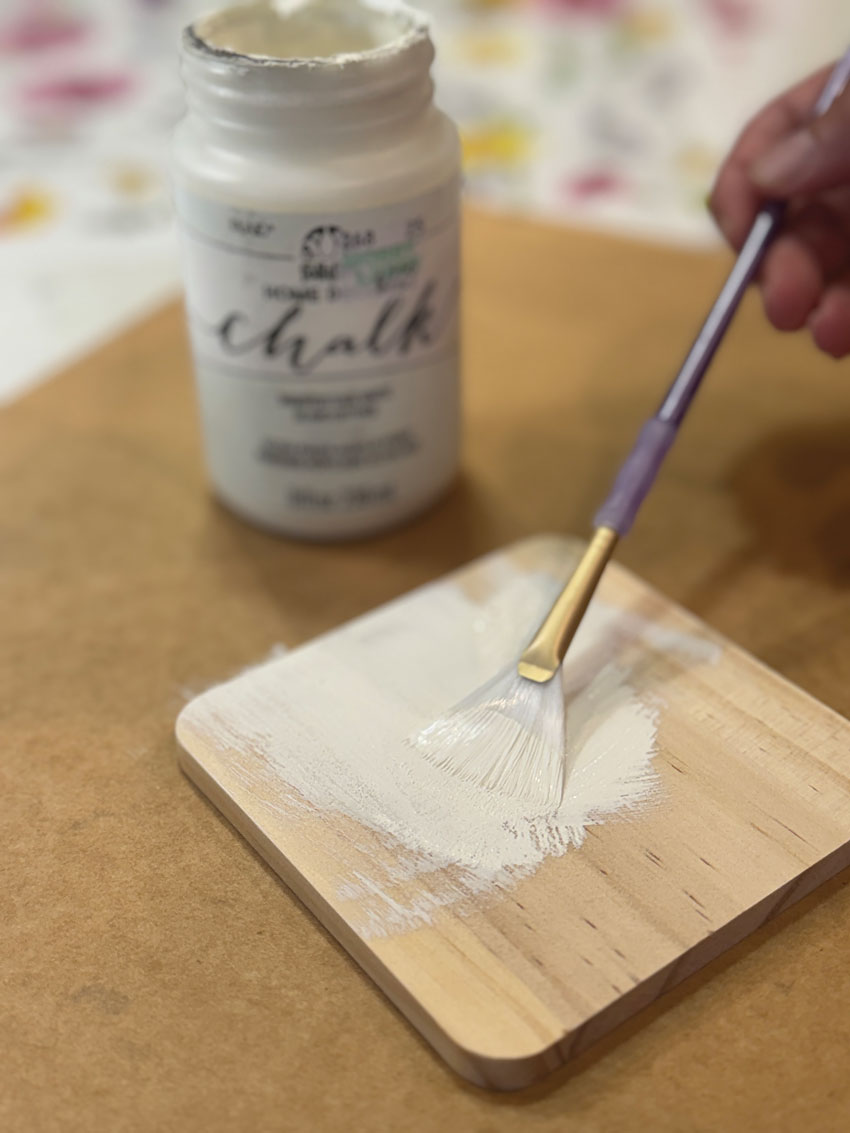
- Paint your coasters the base color. I chose white chalk acrylic paint, which works well for this project and gives good coverage. Set those aside to dry.
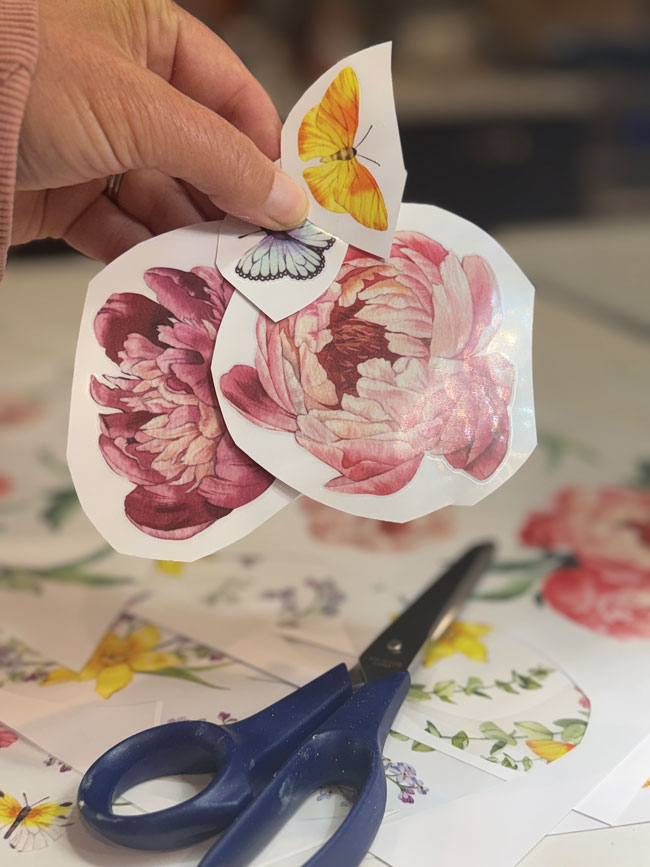
- Cut your transfers into smaller pieces. These are like temporary tattoos but don’t require water.
- Once your coasters are completely dry, lightly sand the painted backgrounds to ensure the wood is as smooth as possible. This will help the transfer to stick. Wipe with a slightly damp paper towel to remove the dust.
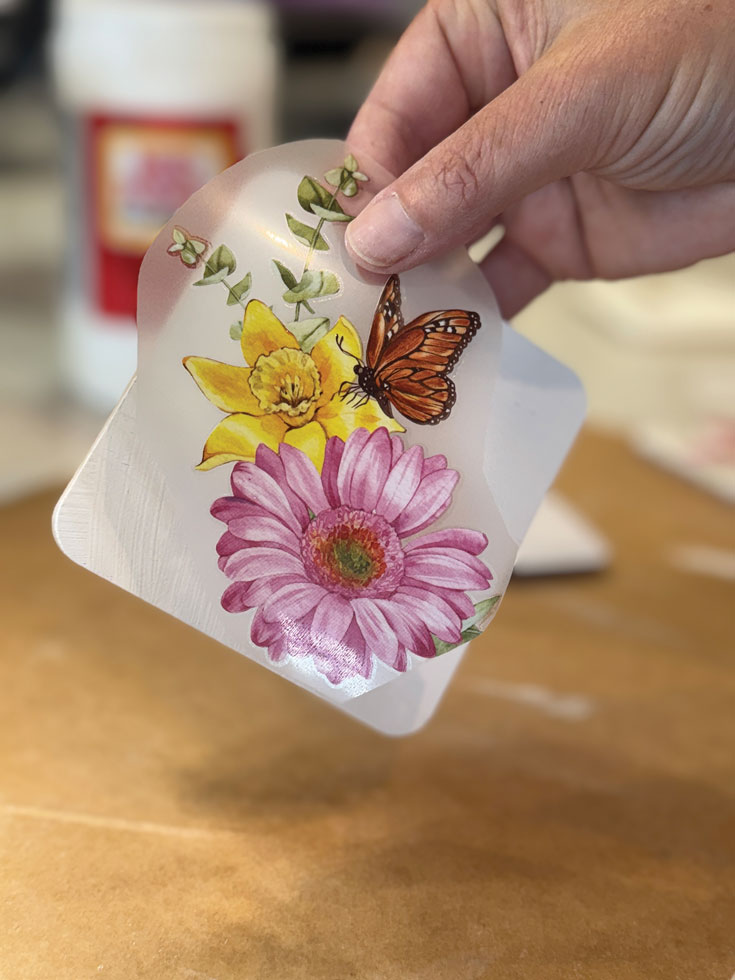
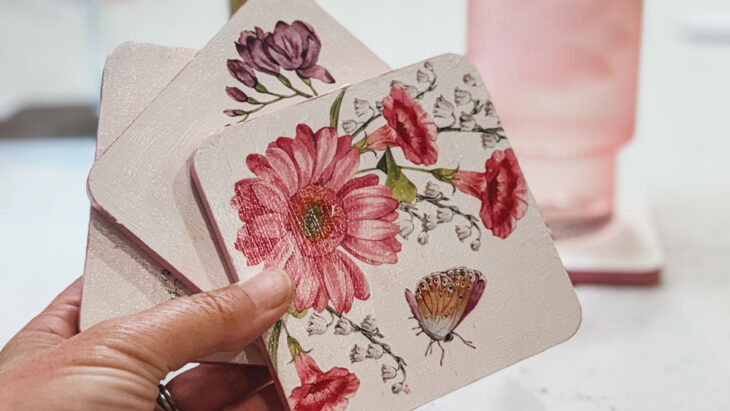
- Apply your transfers according to the instructions. For mine, I just needed to remove the plastic backing and lay the transfer on the surface. I used a scraper tool to push my transfer into the wood surface; you can use a credit card. Slowly peel back your clear plastic covering to make sure the transfer is sticking to the wood. If not, lay it back down and scrape more.
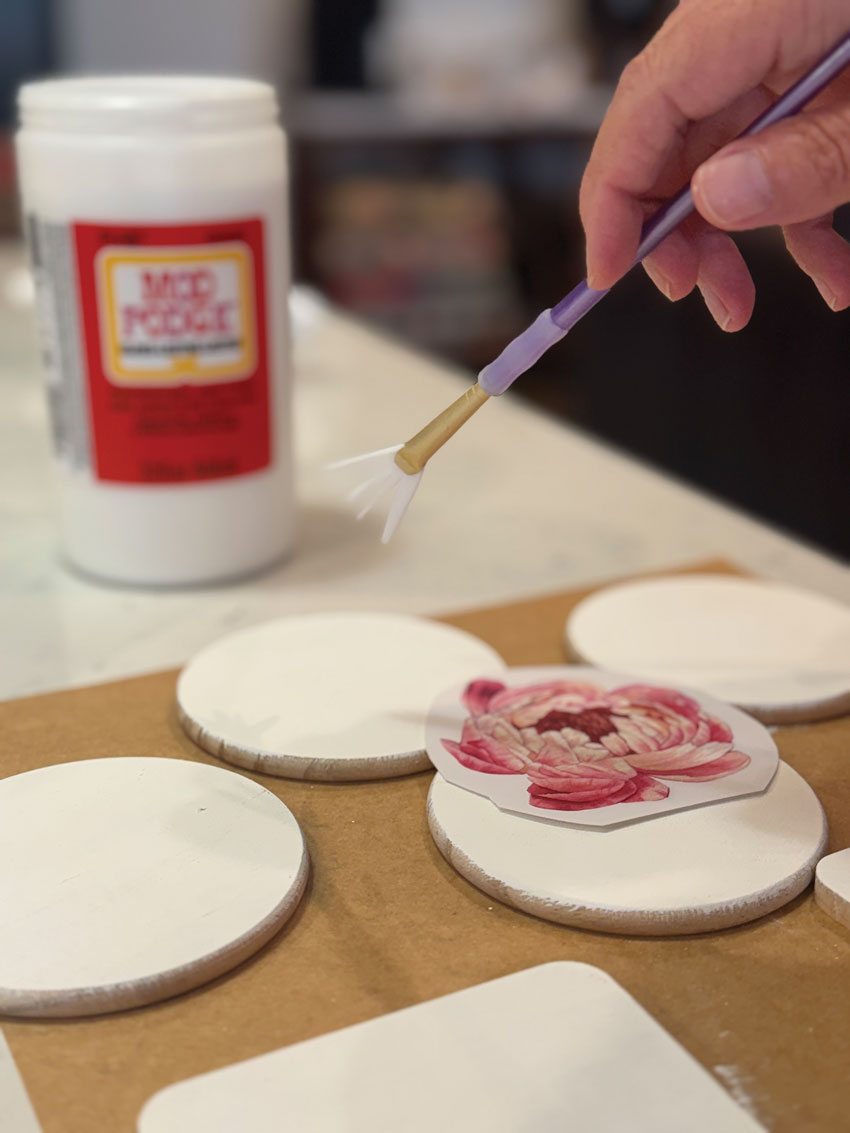
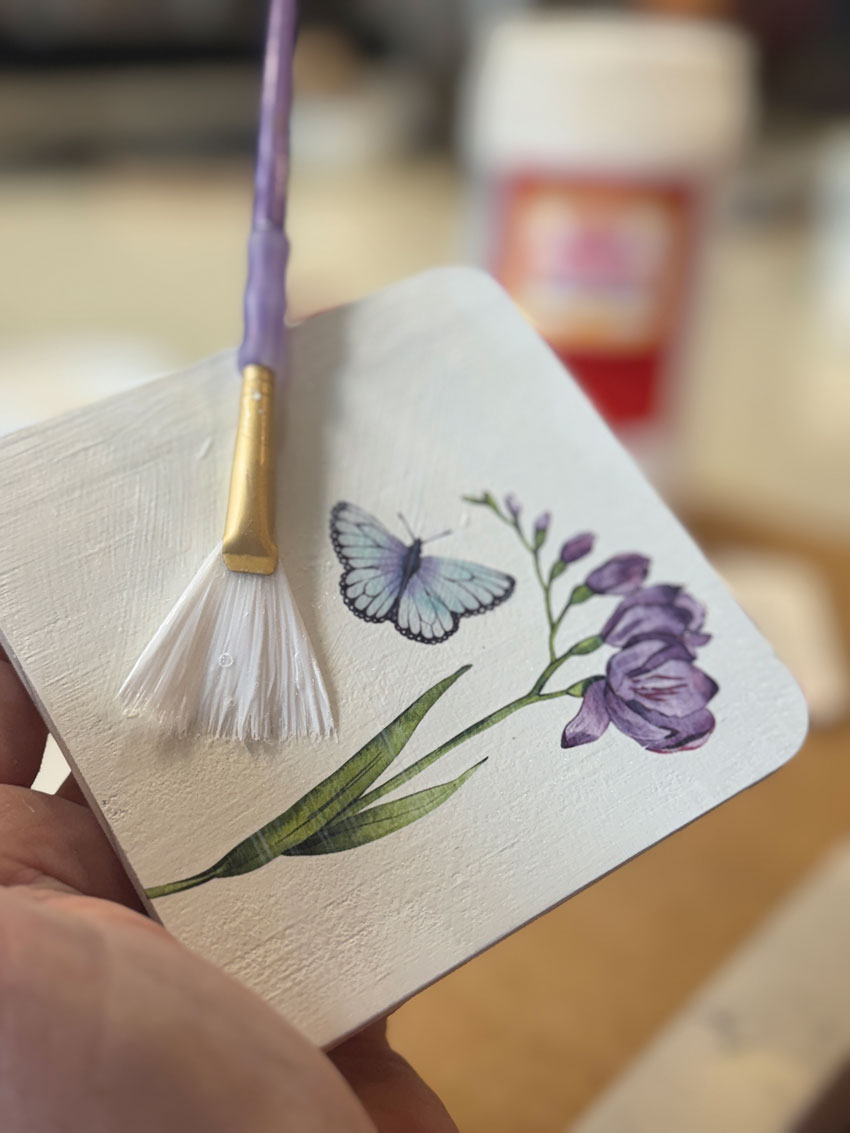
- You’ll want to seal this in with something like Mod pPodge. This also will create a glossier finish and help keep the design secured.
Optional step: I wanted to paint my edges and back a different color, so I made that my last step and sealed it with a coat of Mod Podge. If your coaster blanks come with little grip pads, you can apply those at the end.
Pro tip: If you’re planning to gift these, tie them with a cute ribbon or twine and a homemade tag for an added, thoughtful touch.